
HOW TO: Vacuum formed Carbon Fiber Part for $200 (Part 1)
HOW TO: Make a Carbon Fiber Part (Part 2: making a clay mold)
HOW TO: Make a Carbon Fiber Part (Part 3: making a fiberglass mold)
HOW TO: Make a Carbon Fiber Part (Part 4: making the budget vacuum bag)
HOW TO: Make a Carbon Fiber Part (Part 5: mold prep and cutting CF)
Getting Started, Making a mold. All great Carbon Fiber parts come out of molds. So to make a permanent custom mold I can re-use in the future I decided to make a negative mold out of fiberglass. This fiberglass mold can be used again and again to make positive pieces (more on that later). To make the negative mold you have to create a positive mold out of clay. To start you need a solid base... I decided on wood.
HOW TO: Make a Carbon Fiber Part (Part 2: making a clay mold)
HOW TO: Make a Carbon Fiber Part (Part 3: making a fiberglass mold)
HOW TO: Make a Carbon Fiber Part (Part 4: making the budget vacuum bag)
HOW TO: Make a Carbon Fiber Part (Part 5: mold prep and cutting CF)
HOW TO: Make a Carbon Fiber Part (Part 6: vacuum bagging CF in mold)
HOW TO: Make a Carbon Fiber Part (Part 7: two part piece and final steps)
HOW TO: Make a Carbon Fiber Part (Part 7: two part piece and final steps)
Getting Started, Making a mold. All great Carbon Fiber parts come out of molds. So to make a permanent custom mold I can re-use in the future I decided to make a negative mold out of fiberglass. This fiberglass mold can be used again and again to make positive pieces (more on that later). To make the negative mold you have to create a positive mold out of clay. To start you need a solid base... I decided on wood.
here's my bike's tail with the seat removed and some bolts for adjustable reference to determine how high the front of the cowl needs to be to get a stream line flat profile... the piece of wood can't be thicker than this.

The bolts I used

Another way to look at it

Using a piece of cardboard I created a template to cut a piece of wood from to create a sturdy base to build my clay mold up from... make sure the edges are far enough within that you won't have wood showing through the clay and causing an inconsistency to show through... but don't make the piece too small where the clay can sag into a gap and deform


had to chisel a relief so the wood wouldn't raise higher than the tail fairing


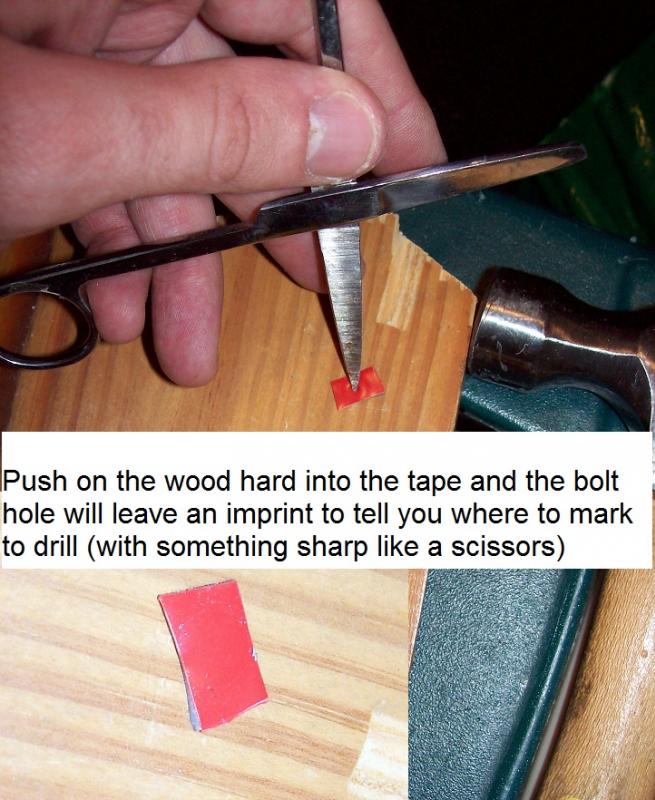
You'll want to secure the piece of wood to have a steady base... you can determine where to drill by placing a small piece of double sided foam tape with a sticky side facing up and the other side without the backing removed and lay one on each of the holes to be drilled, then place the wood carefully where the piece will be bolted and push down well enough to indent the foam tape... it will stick to the wood.


Using an elastic cord to keep the other end of the base down tight.


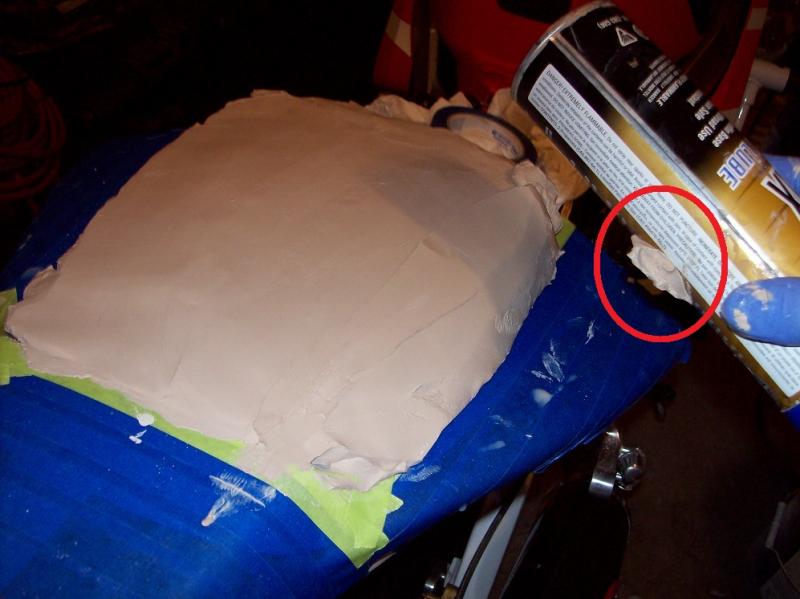
So now we get into building the clay positive mold (to create the negative mold out of fiberglass that will then become the final negative mold to make Carbon fiber cowls out of).

You can buy a 10 pound block of water based clay at any craft store and it's a nice malleable medium to work with.

So take a hand full or two and put it on a cookie sheet or something smooth and waterproof that has water sprayed onto it (otherwise it'll hopelessly stick to the sheet) Then take something like a can of chain wax and get it wet and roll out the clay.

Don't forget to not make the same mistake I did and trust painter's tape to keep the wet clay from ruining your paint. Hind sight I'd take a large sheet of cling wrap and wrap one layer on the tail... you can get a nice 24" wide stuff at moving supply places like U-haul or maybe even hardware stores.

Then you can cut out strips to take up the extra space.

Rinsing the can or whatever you use will help it not stick

Also a fine mist of water on the clay: however, don't get the clay too wet because then it gets to soft or soupy and won't hold it's shape.

So you put that extra piece down, spray it lightly with water, and then you can draw the can or whatever towards you to meld the pieces together


Clean the can off once and awhile. You can spray it down and wipe off the clay that way... then give it a spray to keep it moist before going back to work on it.


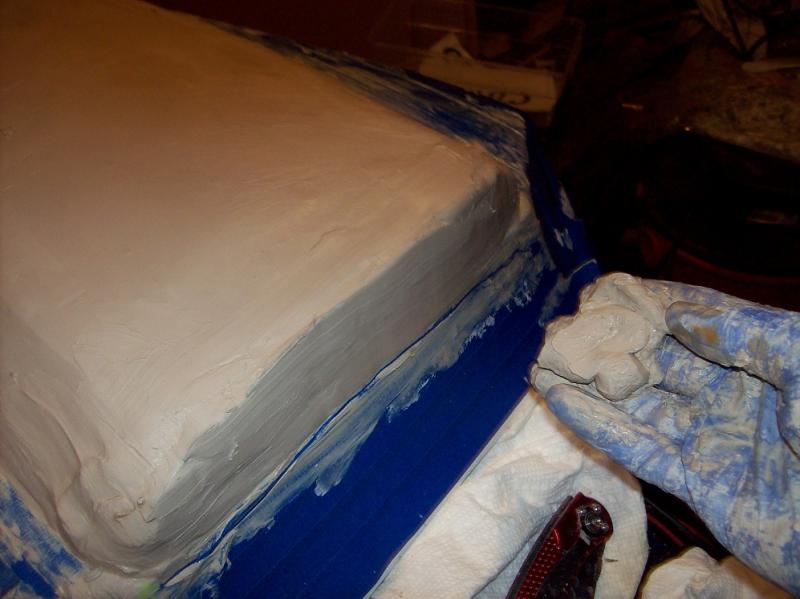
In hind sight this clay is getting too moist and it's susceptible to damage like this easily... it'd be best to start over... but for the interest of explaining more techniques with working with clay I found I'll post the rest of the pictures.


Again, you can see that the clay is far too malleable and has sunk into the space between the wood base and the fairing... but at the time I was interested in learning about the best way to level the clay and you might also benefit from practice like this.


With the excess scrapped off the straight edge you can put it on your knuckle like this in case you need some clay


Some more tips


put some tape on a puddy knife and you can keep a quick reference to maintain a level height


So after you work all the sides and the top smooth to the way you like you can proceed to personalize the piece by cutting out angles or prefabbing clay shapes if you want to add them for raised effects. The possibilities are endless.


Place the cut out on the wet cookie sheet to cut up any graphics you might want in the body piece you are making out of carbon fiber.

I put a cut into the top where the exact middle is. This will help you get things even.


Make sure the cut out for where you place your pieces is even.

No comments:
Post a Comment